Tuesday, October 31, 2006

Work is indefinitely on hold

Unfortunately I have had little time or space to work on my boat since my trip to Kenya in the springtime (see my blog for details). I hope to be working away again very soon. Just in time for the cold weather again. Auggghhh!

Tuesday, March 28, 2006

Filling the seams

Before filling the seams on the hull, I decided to completely remove all the fiber tape that was holding the hull together. I thought this would save time because I could fill the seams all at once. In order to do this I 'spot-welded' the panels together using 5-minute epoxy and a pointed toothpick. This process took way too long and was much more trouble than it was worth. Next time I would glue the seams at the bow and stern together with 5-minute epoxy to stabilize the panels and allow me to remove all the tape there, but I would leave the rest of the tape in place. Filling the seams around the fiber tape would not be difficult and once that had cured the spaces where the tape was could then be filled. In the end I needed to fill some of the seams twice anyway. This was because the filler shrank when it dried and I wanted the filler to be flush with the surounding wood.

Instead of using the wood flour to make the filler for the seams, I decided to use a fairing compound from West System called 410 Microlight. The Microlight is much finer that the wood flour and can be added to create a mixture the consistency of thick peanut butter. This mixture was incredibly easy to work into the seams and had a long "working time" of more than 40 minutes. To apply the mixture, I masked each side of the seams with low-tack masking tape, being mindfull to keep the tape about 2mm from the seams edge so it did not pull the compound out the the seams when it was removed. I agressively worked the filler into the seams with a putty knife and then removed most of the excess. I would leave a bit more excess on top of the seams next time because the filler will shrink as it drys. This should save having to reapply more filler later. Any excess can easily be sanded off later, as the Microlight is much easier to sand then the wood flour mixture. It is a good idea to remove the masking tape as soon as possible so it does not become glued to the hull.

The only disadvantage of the Microlight is the colour. It is light tan and will stand out against the epoxy-saturated wood. Personally, I liked the look at it highlighted the panels. You might be able to match the colour to the wood better if some wood flour was added, but this will make the filler harder to sand.

Thursday, March 23, 2006

The hull is together !

I am finally starting to see the fruits of my labours. I was starting to wonder if these long panels I have been joining would ever twist and bend into a kayak, but they really did fit together quite easily. The most challenging part was getting the first two panels together, particularly at the ends. That was due in large part to my decision to put my boat together without using the wire suturing that is normally employed. My thinking was that I would save time not having to drill the hundreds of holes for the wires and that I would not have to fill those same hole later. And, as my friend Doug pointed out, if it didn't work I only had to take off the tape and drill the holes; nothing to lose except a few hours of my time.

In place of the wire I used fiber tape every 15 cm (6") to hold the hull panels together. It worked much better than I expected and I managed to assemble the hull in less than 2 hours. The tape holds everything together amazingly well and yet it comes off very easily for removal and repositioning. The bow and stern ends were my biggest challenge because of all the stress created when the panels are twisted into shape, but I managed to tame them with some well placed tape and a couple of clamps. My next step will be to "spot-weld" the panels together every 15 cm (6") or as needed with a small amount of 5-minute epoxy. This hopefully will allow me to pull some or all of the tape so I can more easily apply the filler between the panels. Stay tuned !

Sunday, March 05, 2006

Butt joints

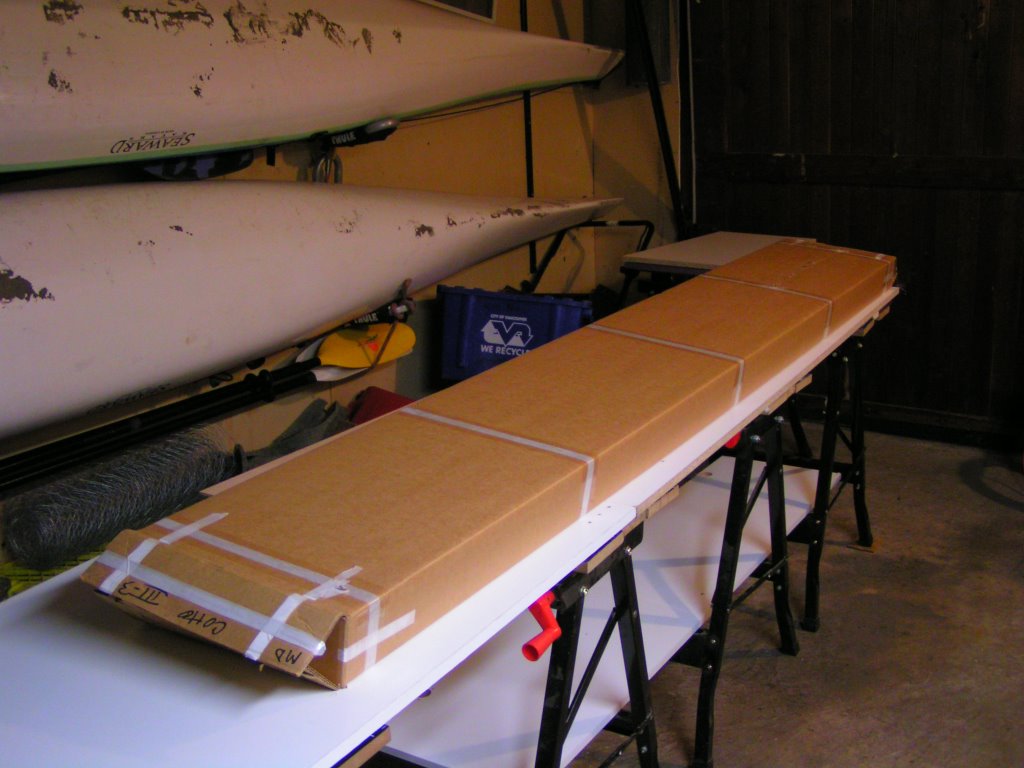
I have been working on the butt joints for a few days and I have learned some important lessons:

1) Cover everything that might possibly come into contact with epoxy in plastic! This is the most important tip for anyone working with epoxy and could save you hours of stressing as you try to pry that brick or piece of plywood off your work. It is amazing how much epoxy will squeeze out after you have applied weight to the fiberglassed joints while they cure and it is just looking for something to stick to. I used grocery bags and packing tape to cover everything in sight and I had no problems.

2) Don't apply too much epoxy to the butt joints. It does not take much epoxy to wet-out the fiberglass and adding too much will only mean you will have more excess to remove later. Also, the idea of the fiberglass/epoxy joint is to keep the fiberglass in close contact with the plywood. If you have too much epoxy, the fiberglass tape could "float" off the surface of the wood and the joint will be weaker as a result. Remember that you will cover these joints over with another layer of fiberglass and epoxy later, so they don't have to be ready to face the elements at this stage.

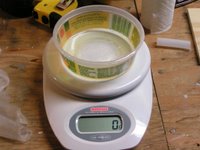
3) Buy a cheap digital scale. After I did my first batch of butt joints I discovered there was lots of left-over epoxy going to waste. This was because the pumps that are supplied only measure a large fixed volume. To make smaller batches of mix, a digital scale is great. But you need to be careful to adjust the resin : hardener ratio appropriately. If measuring by volume it is 2 : 1, but the proper ratio for the System Three epoxy by weight is 100 : 44. I found that 25 grams of resin mixed with 11 grams of hardener was more than sufficient to do 8 butt joints. The epoxy I save now might come in handy later if the experiences of others are any indication.


4) Use a squeegee to remove air bubbles and excess epoxy from under the Mylar before you weight the joint down. I found that the tongue depressors that came with the kit are great for working bubbles out to the edge of the Mylar sheet. Keep in mind that you will never get out all the bubbles, but you want to get as many of the big ones as you can. Also, the more excess epoxy you squeeze out and wipe up now, the less scraping you will have to do later.

5) Remove excess epoxy while it is soft. I can't stressed this enough. It is much, much easier to wipe, scrape, or cut it off before it cures to full hardness. I purchased a furniture scraper (one with a long handle and a ~3cm (1") carbide steel blade) from a "Big Box store" on the advice of Doug, and it has worked great for cleaning up the edges of the panels. In fact, it works so well you can even use it to clean up the edges well after the epoxy has cured, as I had to do on several occasions when I did not plan ahead so well.

6) Plastic photocopy sheets work just as well as Mylar. You will soon discover that the Mylar supplied with the kit is not nearly enough to do the job, or at least in my case it wasn't. So rather than trying to re-use sheets that I had gummed up, I bought some plastic sheets from my local photocopy place and cut them to size. In the end I actually liked them better than the Mylar because they were more supple and allowed me to work out the air bubbles more easily.

7) Remove all blemishes / factory stamps from the wood before you start. Even if you think you can do it later because it is on the other side, don't risk it. The epoxy has a nasty way of getting under and around everything, so it will get to the underside of the joint and could make that stamp a permanent resident on you hull or deck.

8) Buy good quality sandpaper. I purchased some cheap sandpaper to remove the stamps and to sand down my epoxy, but it was constantly clogging up and made the job a real headache. I then purchased some higher quality stuff from the "Big Box" and it was so much better. No more clogs and the job went quickly and easily. Just remember to wear a respirator when sanding the epoxy.

9) Have a pot of diluted vinegar handy for cleaning your gloves. As already stated, I found that the epoxy had a way of getting everywhere, especially on my gloves. This meant that unless I cleaned it off, it was eventually going to coat every surface in my shop. By dipping my hands in diluted vinegar every now and again then drying off with a towel I was able to keep this to a manageable level.

Epoxy, space heaters and cradles

I have been playing around lately with the epoxy that came with my kit and I have discovered that my shop is too cold right now to work with it properly. I will talk more about this problem later. Rather than fight with trying to apply very viscous epoxy to my butt-joints I have decided to take the advice given in "Kayaks you can Build: An Illustrated Guide To Plywood Construction" (see my last post) and fabricate 3 cradles to help in supporting and assembling the hull panels later on. This process is perfectly described in the book, so I will not get into the details here. Briefly, it involves tracing the shape of the bottom two thirds or so of the 3 strongbacks supplied in the kit on a piece of 1/2" or 3/4" plywood, enlarging the outline by the thickness of the kayak's plywood panels (I used a scrap piece of this wood place on edge against the original outline and traced around it to give me the right thickness), then cutting out the cradle form with a jigsaw. Keep in mind that the point where the keel will sit in the cradle must be the correct height from the base to reflect the curvature in the keel. If you don't have a clue what I am talking about or even if you do, you need to read the book.

Now back to my temperature problems. My friend Doug and I have been discussing this issue for some weeks and we have not really come up with an ideal solution yet. What has worked best is to leave a cheap ceramic electric heater running in the garage all the time (here in Vancouver this costs less than $1 a day!). In my case this gets the temperature above 10C (50F) even when it is below freezing outside. This seems to allow me to spread the epoxy mix with few problems as long as I warm the epoxy components and mix before I apply it. If it is too cold I get tons of bubbles in the mix and it is harder to wet-out the fiberglass or saturate the wood. Imaine trying to apply think honey to toast. I also have found that a small, natural bristle artist's brush is easier to use than the foam brushes that Pygmy suggest. I have a lot more control when spreading the epoxy and I find it much easier to clean the brush with acetone or vinegar. With the foam, I was having to throw the brush out after each use because they were impossible to clean.

Thursday, March 02, 2006

Setting up shop

There are many resources better than this blog that detail the building of a Pygmy Coho so I have decided to just focus on giving tips and lessons that I have learned or have been passed on to me by my friend Doug, who is building a Pygmy Arctic Tern. One of the best resources I have found constructing a Coho is a book called "Kayaks You Can Build: An Illustrated Guide To Plywood Construction" by Ted Moores and Greg Rössel. This book documents all the steps involved in constructing a Coho (and two other kayak kits) and includes pages and pages of tips and techniques that will save you time and aggravation if you are building any plywood kayak. I highly recommend this book because there are lots of steps in the instruction manual from Pygmy that are rather vauge and can leave you scratching your head. This book also included loads of photos for all the steps, something that is severely lacking in the manual. I was lucky enough to find this book at my local library, but I will probably buy this book because this will not be the last kayak I build and this is such a great resource!

Before I could start building my Coho I needed to get my shop set up. My first order of business was to build myself a table long enough to allow me to join the panels together. There are many techniques and materials you can use to make a table for this purpose, but I chose to use stuff I had lying around to cut down on costs (always remember, I am cheap!). I found that the sides of a cheap melamine (the white plastic-coated crap you get at Ikea) wardrobe make great panels for the table top. In my opinion melamine panels are an ideal material for a table top because it is cheap, tough and has a nice flat surface that epoxy does not stick to very well. This last property will save you lost of aggravation later if you are unlucky enough to forget to put plastic under your work, or if the epoxy finds it's way around the plactic you have laid down. I put the two sides end to end I had a table that was 0.6 x 4.2 m (2 x 14 ft). This is not ideal since the kayak panels are up to 5.25 m (17.5 ft) long, but I will make it work. For table legs, I chose to use folding work benches. Not only do they make a nice solid base to work on, but I had 6 of these things taking up shop space so this also got them out of my way. You can see glimses of my table in the photos for my first post.

Sunday, February 26, 2006

Choosing the right kit

The focus of this, my first ever blog, is to chronical my trials and tribulations while building a plywood sea kayak from a kit. I originally got the idea to build a kit boat while reading an issue of Sea Kayaker Magazine. I thought that this sounded like a great challenge and it was the most cost-effective way for a cheapskate such as myself to own my very own sea kayak for about a third of the price of a comparable fiberglass boat. Add to this the beautiful look of these boats and a miserly weight of around 22 kg (40 lbs) for a 5.25 m (17.5 ft) kayak, I found it hard to say no to the idea. The only drawbacks seemed to be finding the time and a workspace large enough to complete the process. I am lucky enough to possess both of these in ample quantities, so the next stop was the internet to find my kit.

In the end, the kayak kit I chose to purchase was the "Coho" from Pygmy Boats Inc. from Port Townsend, Washington, USA. This choice was an easy one for me because I had read very favorable magazine reviews of Pygmy's highly rated Coho and the Actic Tern models. Now there are definitely other well designed kayak kits out there, but the close proximity of the Pygmy showroom in Port Townsend to my home in Vancouver, Canada clinched the deal because I was able to easily drive down and test paddle a few boats to make sure I like the look and feel of them. I was more than impressed with how both these boats performed and the final decision to buy the Coho came down to very subtle differences in stability and handling. In my hands the Coho tracked straighter and had slightly better primary stability, while still carving a very respectible turn when put on edge.

The Coho kit itself belies the boat that awaits inside. The wood all comes in a very thin and light 2.5 m (8 ft) box and is accompanied by a smaller but much heavier box with the epoxy and fiberglass. I also purchased some extra goodies to add hatches and shock-cord to the deck of my boat since I plan to do lots of sea-touring in this baby and will need lots of places to hold all my gear. I can't wait to get started!!